Data bind radio button lists with Angular


Assume you have a simple list or table of elements, each row having a radio button. The user can select one of the rows and your task is to determine the selected row entry. We basically need to establish some data binding between our data and the radio buttons. Let’s see how to do that with Angular.
$1
First of all, assume this is our data structure:
[
    {
        id: 1,
        description: 'entry 1'
    },
    {
        id: 2,
        description: 'entry 2'
    },
    ...
]
For the purpose of not complicating our example more than needed, we create a simple HTML table inside our component, and iterate over the <tr> elements using *ngFor.
@Component({
    ...
    template: `
      <table>
        <thead>
          <td>Description</td>
          <td></td>
        </thead>
        <tbody>
          <tr *ngFor="let entry of entries">
            <td>{{ entry.description }}</td>
            <td>
                <input type="radio" name="radiogroup">
            </td>
          </tr>
        </tbody>
      </table>
    `
})
export class App {
    entries = []
}
Pre-select the 1st radio button of the list
Given that we specified the name="radiogroup" on our radio button, always only one radio button can be selected in our list. This is plain standard HTML behavior. Therefore, it’s good practice to preselect the first one. How do we determine the 1st row within our *ngFor loop? We use the index property. Once we have that we can conditionally add the checked property to our radio button based on whether the current index in our iteration is equal to 0.
<tr *ngFor="let entry of entries; let idx = index">
  <td>{{ entry.description }}</td>
  <td>
    <input type="radio" name="radiogroup" [checked]="idx === 0" />
  </td>
</tr>
Binding: Model -> Template
The important part is our <input type="radio"...> here, so let’s take a closer look. First of all we want to bind in the value which is determined by the id property of our entry data object. We can bind the value using the [ ] brackets.
<tr *ngFor="let entry of entries">
  <td>{{ entry.description }}</td>
  <td>
    <input
      type="radio"
      name="radiogroup"
      [checked]="idx === 0"
      [value]="entry.id"
    />
  </td>
</tr>
Binding: Template -> Model
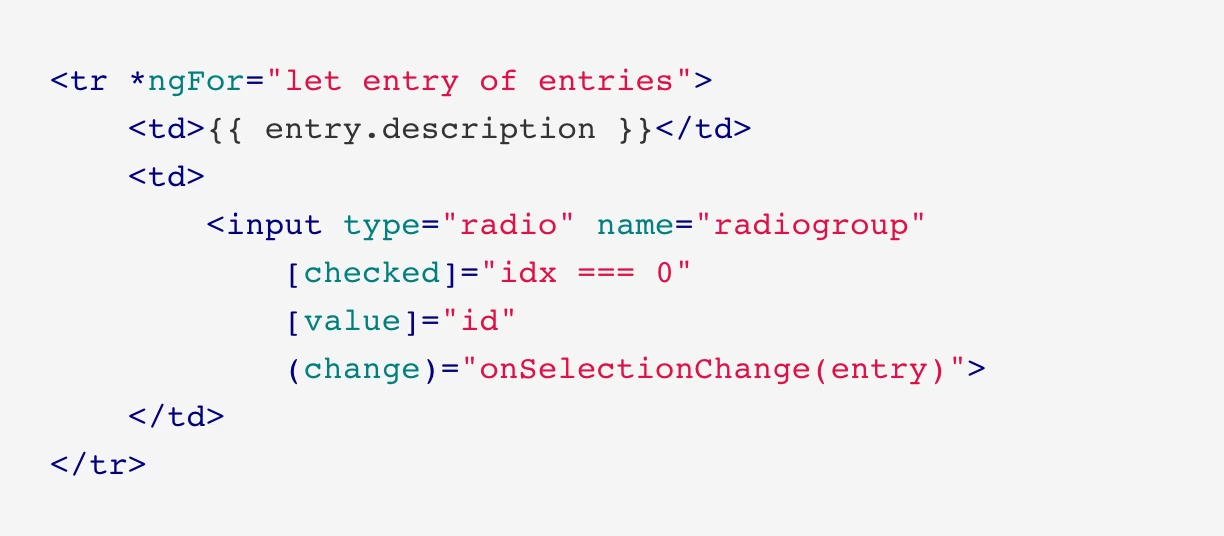
Great, so now that we’ve databound our model to our template by using the [value] attribute on our radio button list, we need however to also bind the currently selected radio button back to our component. This is important in order to understand which radio button the user ultimately selected. Our strategy here is to bind to the native “change” event on our radio button element. In Angular we can simply do this by using the ( ) brackets.
<tr *ngFor="let entry of entries">
  <td>{{ entry.description }}</td>
  <td>
    <input
      type="radio"
      name="radiogroup"
      [checked]="idx === 0"
      [value]="entry.id"
      (change)="onSelectionChange(entry)"
    />
  </td>
</tr>
Obviously, the onSelectionChange(...) function needs to be defined on our component, so let’s do that. The implementation is actually quite simple, we only go and remember our currently selected entry on a component level variable.
@Component({...})
class App {
    entries = [];
    selectedEntry;

    onSelectionChange(entry) {
        this.selectedEntry = entry;
    }
}
We could even go a step further and create a copy of our object, which is good practice to provide object immutability. In combination with OnPush change detection strategy, this can make quite some performance difference. But that’s the story of another blog post.
@Component({...})
class App {
    ...
    onSelectionChange(entry) {
        this.selectedEntry = Object.assign({}, this.selectedEntry, entry);
    }
}
Final Code
Here’s the final code in a easy to use Plunk:
Conclusion
As you can see, we use a clean one way data flow approach when binding to our radio button. We use input bindings with [value] and output bindings with events, namely the native radiobutton’s (change) event.