Create a ng-true-value & ng-false-value directive for Angular


If you come from AngularJS (v1.x) I’m pretty sure you remember the
ng-true-value and ng-false-value directive you could hook onto the
checkbox elements in your forms. In Angular (2+) there’s no such built-in
directive. But that doesn’t prevent us from creating one and at the same time
learn how to build a custom value accessor for Angular forms :smiley:.
Contents are based on Angular version >= 2.0.0
Egghead.io Video Lesson
Lazy? Then check out my Egghead.io companion lesson on how to “Create a custom form control using Angular’s ControlValueAccessor”
Why?
When you bind your data model to a checkbox onto your form, many times you don’t have a pure true/false boolean value, but rather values like “yes/no”, “active/inactive” and whatever other form you like. Why? Because that’s how your data model looks like. Of course we could cast it to booleans when we fetch the data from the backend or straight before binding it to the form.
In AngularJS (v1.x) you can use the ng-true-value and ng-false-value to map boolean values onto a checkbox:
<input
  type="checkbox"
  name="lovingAngular"
  ng-model="formData.lovingAngular"
  ng-true-value="'YES'"
  ng-false-value="'NO'"
/>
Angular Forms Primer
Angular (2+) has two different kind of form flavors:
- Template driven forms (very similar to AngularJS forms)
- Reactive or model driven forms
While the 1st one is much easier to get started with probably, especially if you’re coming from AngularJS, the latter is the preferred one and much more powerful. Here are some articles:
A first quick look at the new Forms API in Angular
Creating Custom Form Controls
To get started, you need to implement the ControlValueAccessor interface. See the official docs for more info.
interface ControlValueAccessor {
  // called when the model changes which
  // need to be written to the view
  writeValue(obj: any): void;

  // change callbacks that will be called by the Form API
  // to propagate changes from the view to the model.
  registerOnChange(fn: any): void;

  // to propagate changes from the view to the model
  // onBlur
  registerOnTouched(fn: any): void;

  // called to set the disabled/enabled state
  setDisabledState(isDisabled: boolean)?: void;
}
By implementing this interface we can hook a totally customized form control into the Angular form API and it will just work.
Create the trueFalseValue Directive
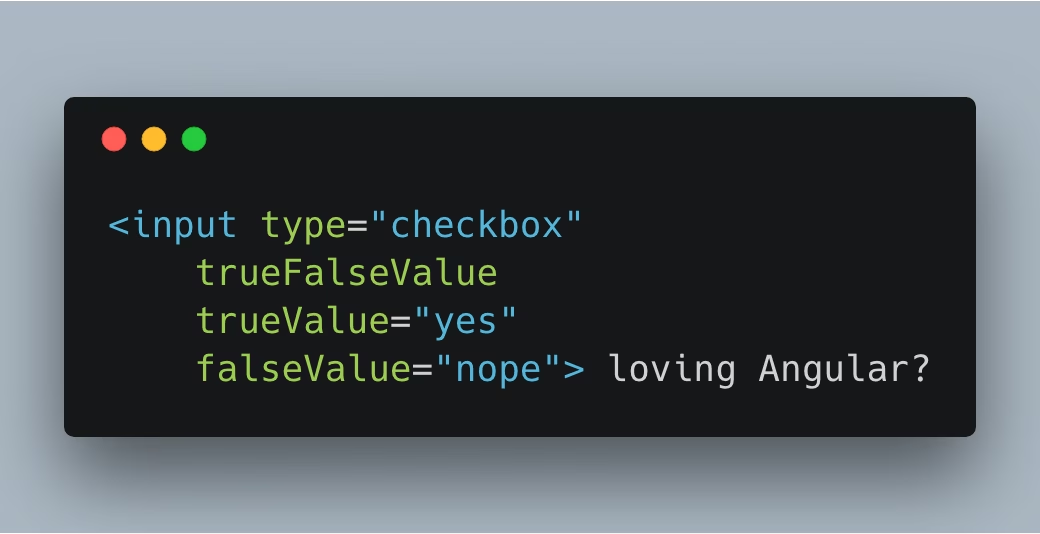
In our case we don’t want to build a totally new component, but we rather want to build a directive that augments a checkbox input type. The API we’re aiming for is the following:
<input type="checkbox" trueFalseValue trueValue="yes" falseValue="nope" />
loving Angular?
The first step is obviously to build the base directive:
@Directive({
  selector: 'input[type=checkbox][trueFalseValue]',
})
export class TrueFalseValueDirective {
  @Input() trueValue = true;
  @Input() falseValue = false;
}
This directive matches all checkbox input types, having the trueFalseValue attribute, our directive. We could potentially target all input[type=checkbox] directly, I just wanted to explicitly “activate” our directive. Furthermore it takes two input properties trueValue and falseValue with the boolean defaults.
Implement the model -> view
Next we implement the ControlValueAccessor interface, importing it from @angular/forms. In the writeValue(...) function we handle the values coming from the Angular Forms API which we then need to bind onto our checkbox.
The instance of our checkbox can be retrieved via the ElementRef. Then, based on the trueValue and falseValue that has been set, we need to update the underlying checkbox DOM element. We use the Renderer2 (from @angular/core) for setting that value.
Note, we could directly access the native element using the DOM api over the
this.elementRef.nativeElement. However, this won’t be safe when our code is run in other environments, such as in a Web Worker or the server-side.
@Directive({ ... })
export class TrueFalseValueDirective implements ControlValueAccessor {
  @Input() trueValue = true;
  @Input() falseValue = false;

  constructor(private elementRef: ElementRef, private renderer: Renderer2) {}

  ...

  writeValue(obj: any): void {
    if (obj === this.trueValue) {
      this.renderer.setProperty(this.elementRef.nativeElement, 'checked', true);
    } else {
      this.renderer.setProperty(this.elementRef.nativeElement, 'checked', false);
    }
  }
  ...
}
Implement the view -> model
What’s missing is the path from our view -> model which is handled via the registerOnChange(...) callback.
@Directive({ ... })
export class TrueFalseValueDirective implements ControlValueAccessor {
  @Input() trueValue = true;
  @Input() falseValue = false;
  private propagateChange = (_: any) => {};

  constructor(private elementRef: ElementRef, private renderer: Renderer2) {}

  writeValue(obj: any): void { ... }

  ...

  registerOnChange(fn: any): void {
    this.propagateChange = fn;
  }
  ...
}
We save the passed in callback fn onto our propagateChange member variable of our class. Then we register on the checkbox change event via the HostListener (from @angular/core):
@Directive({ ... })
export class TrueFalseValueDirective implements ControlValueAccessor {
  @Input() trueValue = true;
  @Input() falseValue = false;
  private propagateChange = (_: any) => {};

  constructor(private elementRef: ElementRef, private renderer: Renderer2) {}

  writeValue(obj: any): void { ... }

  @HostListener('change', ['$event'])
  onHostChange(ev) {
    this.propagateChange(ev.target.checked ? this.trueValue : this.falseValue);
  }

  registerOnChange(fn: any): void {
    this.propagateChange = fn;
  }
  ...
}
Register the custom ControlValueAccessor
As a last step, we need to register our ControlValueAccessor.
...
import {
  ControlValueAccessor,
  NG_VALUE_ACCESSOR,
  NgControl
} from '@angular/forms';

@Directive({
  selector: 'input[type=checkbox][trueFalseValue]',
  providers: [
    {
      provide: NG_VALUE_ACCESSOR,
      useExisting: forwardRef(() => TrueFalseValueDirective),
      multi: true
    }
  ]
})
export class TrueFalseValueDirective implements ControlValueAccessor { }
Final, running example
Here’s the full running example: