Create a Next.js web app with Nx


In this article, we’re going to explore how to create our very first web application with Next.js and Nx. We’re going to learn about the anatomy of a Nx based workspace, how to generate one, and specifically how to setup our Next.js application. Finally, we’re also going to create our blog’s about page and learn about some handy Next.js features.
Building a blog with Next.js and Nx Series
This article is part of a series around building a blog with Nx, Next.js, Tailwind, Storybook and Cypress.
- Create a Next.js web app with Nx
- Setup Next.js to use Tailwind with Nx
- Read and render Markdown files with Next.js and Nx
- Component hydration with MDX in Next.js and Nx
- Hot Reload MDX changes in Next.js with Nx
- Using Nx Workspace generators to scaffold new blog posts
- Use Storybook with Tailwind in an Nx Workspace
- Use Cypress with Next.js and Nx to battle test your React Components
- Publishing a Next.js app to Vercel with Nx
Check back later, follow me on Twitter or subscribe to the Newsletter to get updates about upcoming articles
Next.js meets Nx
In order to create a new Next.js application, we have two options mainly:
- use the Next.js CLI
- use a Nx workspace
We’re going to use Nx for this setup because it provides a series of advantages:
- support for multiple apps (we can easily add more apps to our workspace and share common logic)
- structure our code as workspace libraries, thus facilitating a cleaner architecture, code reuse and responsibility segregation
- improved build and test speed via Nx affected commands and computation caching
- out of the box support for code generation, Storybook and Cypress integration
These parts will be covered in more detail in the upcoming articles that are part of this series.
To create a new Nx workspace, use the following command.
npx create-nx-workspace juridev --packageManager=yarn
juridev here is the name of my organization and will be your namespace when you import libraries which we’ll see later.
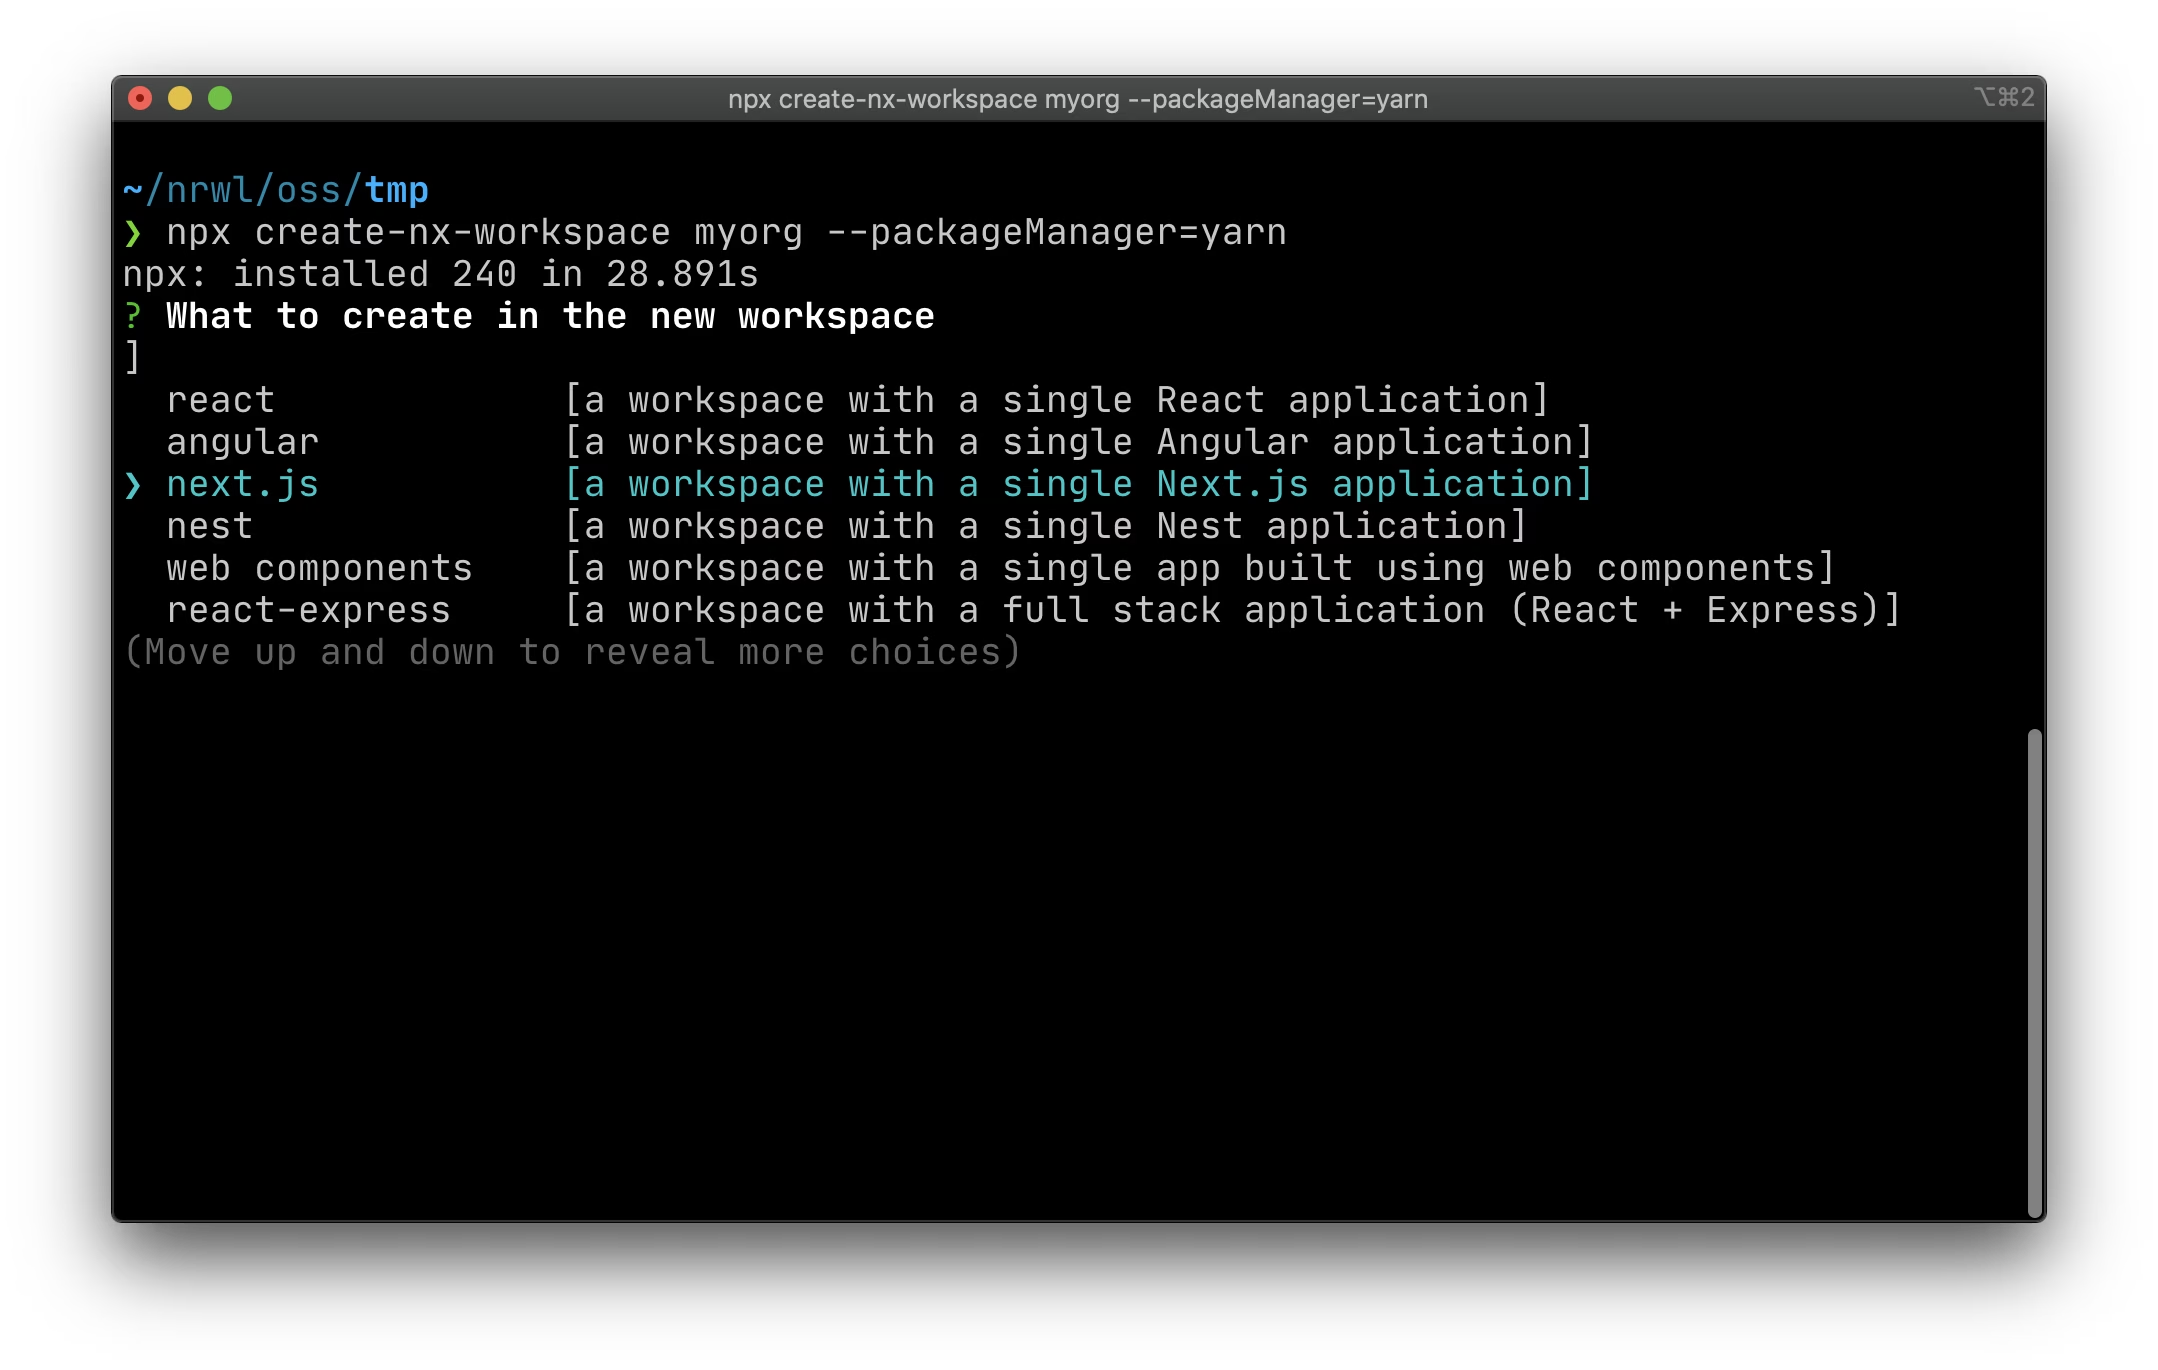
When asked, use Next.js as the preset

During the setup, you’ll be asked to give the generated application a name. I use “site” for now as this is going to be my main Next.js website. Make sure to choose CSS as the styling framework. Because we’ll be using Tailwind later, we need pure CSS and PostCSS processing.
Once the installation and setup completes, run yarn start (or npm start) to launch the Next.js dev server and navigate to http://localhost:4200. You should see the running application.
Nx Workspace structure
Let’s quickly explore the Nx workspace structure to learn some of the fundamentals.
Apps and Libs
An Nx workspace is structured into apps and libs. Instead of having all the different features of our app just within folders of our application folder, we rather split them up into “workspace libraries”. Most of our business and domain logic should reside in those libraries. The apps can be seen as our “deployables”. They import the functionality in the libs as the building blocks to create a deployable app.
Although the libraries can be built and published (see Publishable and Buildable Libraries), they don’t have to. They are referenced via TypeScript path mappings in the tsconfig.base.json configuration at the root of the Nx workspace. When we build the application, all referenced libraries are built into the app via the used bundler (e.g. Webpack or Rollup etc).
Config files: workspace.json and nx.json
Let’s give a fast overview of the main configuration files. All the details can be found on the official docs page: https://nx.dev/latest/react/core-concepts/configuration
The workspace.json is the main configuration file of an Nx workspace. It defines
- the projects in the workspace (e.g. apps and libs)
- the Nx executor used to run operations on the projects (e.g. serve the app, build it, run Jest tests, Storybook etc..)
The nx.json defines mostly additional configuration properties used for the Nx dependency graph. Additionally, you can define the base branch (e.g. master or main or whatever you are using) and the task runner to be used.
Serving, building and testing
The Nx workspace.json config defines what you can actually serve, build, test etc. Here’s a quick example of such a configuration for a project called cart.
{
  "projects": {
    "cart": {
      "root": "apps/cart",
      "sourceRoot": "apps/cart/src",
      "projectType": "application",
      "targets": {
        "build": {
          "executor": "@nrwl/web:build",
          "options": {
            "outputPath": "dist/apps/cart",
            ...
          },
          ...
        },
        "serve": {...},
        "test": {
          "executor": "@nrwl/jest:jest",
          "options": {
            ...
          }
        }
      }
    }
  }
}
It defines targets for build, serve and test. These can be invoked using the following syntax:
npx nx run <proj-name>:<target> <options>
Note, we use
npxin front because we don’t have Nx installed globally. Thus npx will fallback and execute the installed binary in our node_modules folder. You can obviously also install Nx globally and get rid of having to prefix commands withnpx
So to serve our app we run nx run cart:serve, to build it nx run cart:build and so on. There are also shortcuts, meaning we can alternatively invoke these commands like nx serve cart or nx build cart.
In Nx “targets” are invocable commands. There are predefined commands such as build, serve, test that get set up when you generate a new application. You can also define your custom ones, either by building your own Nx Executor or use the Nx Run-Commands.
Working on our Next App
Understanding Page Structures: Generating the About Page
When looking at the setup you’ll see a “pages” folder. Every file returning a React component in there, instructs Next.js to generate a new page. As you can see there is an index.tsx page, which you see when navigating to the root of the Next website http://localhost:4200. To better understand this, let’s create an About page that responds at http://localhost:4200/about.
Nx has some nice generators for that already. Hence, typing..
npx nx generate @nrwl/next:page --name=about --style=css
..generates a new about.tsx (with its according styling file).
import './about.module.scss';

/* eslint-disable-next-line */
export interface AboutProps {}

export function About(props: AboutProps) {
  return (
    <div>
      <h1>Welcome to about!</h1>
    </div>
  );
}

export default About;
Btw, if you’re not the terminal kind of person, you can also use the Nx Console VSCode plugin.
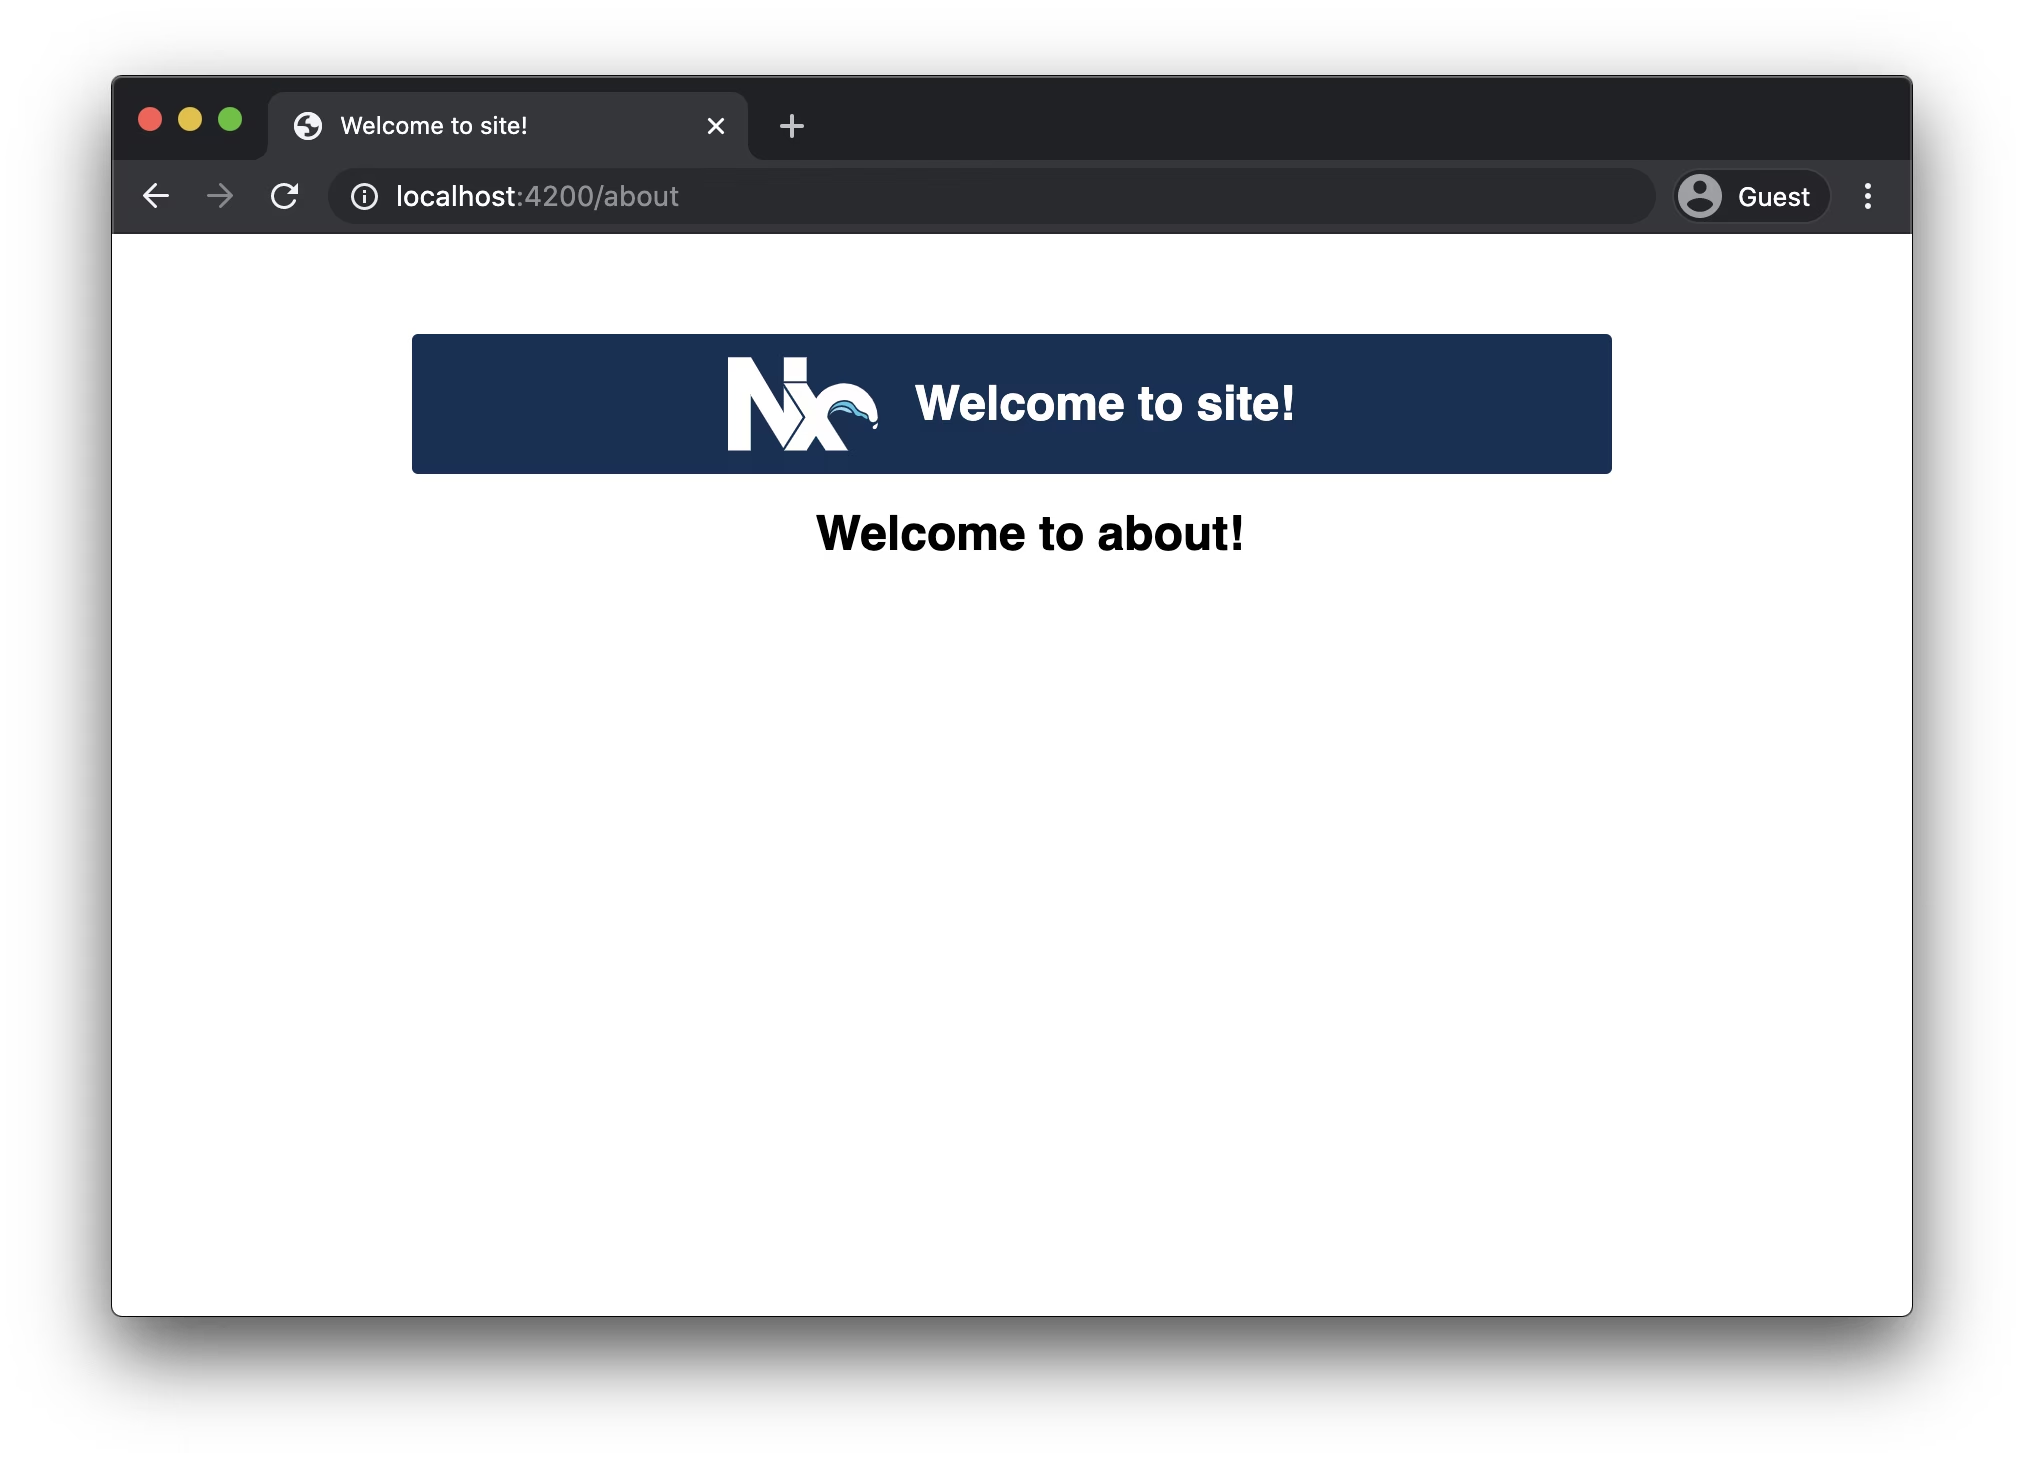
If we now serve our app with npx nx serve site and navigate to /about, we should see something like the following:

Understanding getStaticProps
getStaticProps allow us to return props to our React component that’s going to be pre-rendered by Next.js. It gets the context object as a parameter and should return an object of the form.
return {
  props: {
    /* your own properties */
  },
};
We can write our getStaticProps as follows:
// apps/site/pages/about.tsx
import { GetStaticProps } from 'next';
...

export interface AboutProps {
  name: string;
}
...

export const getStaticProps: GetStaticProps<AboutProps> = async (context) => {
  return {
    props: {
      name: 'Juri'
    },
  };
};
Note how we use TypeScript to type the return value of our function to match our AboutProps from the about.tsx component. You can find more info about how to use the getStaticProps and others with TypeScript on the official Next.js docs.
We can now use the props in our React component:
export function About(props: AboutProps) {
  return (
    <div>
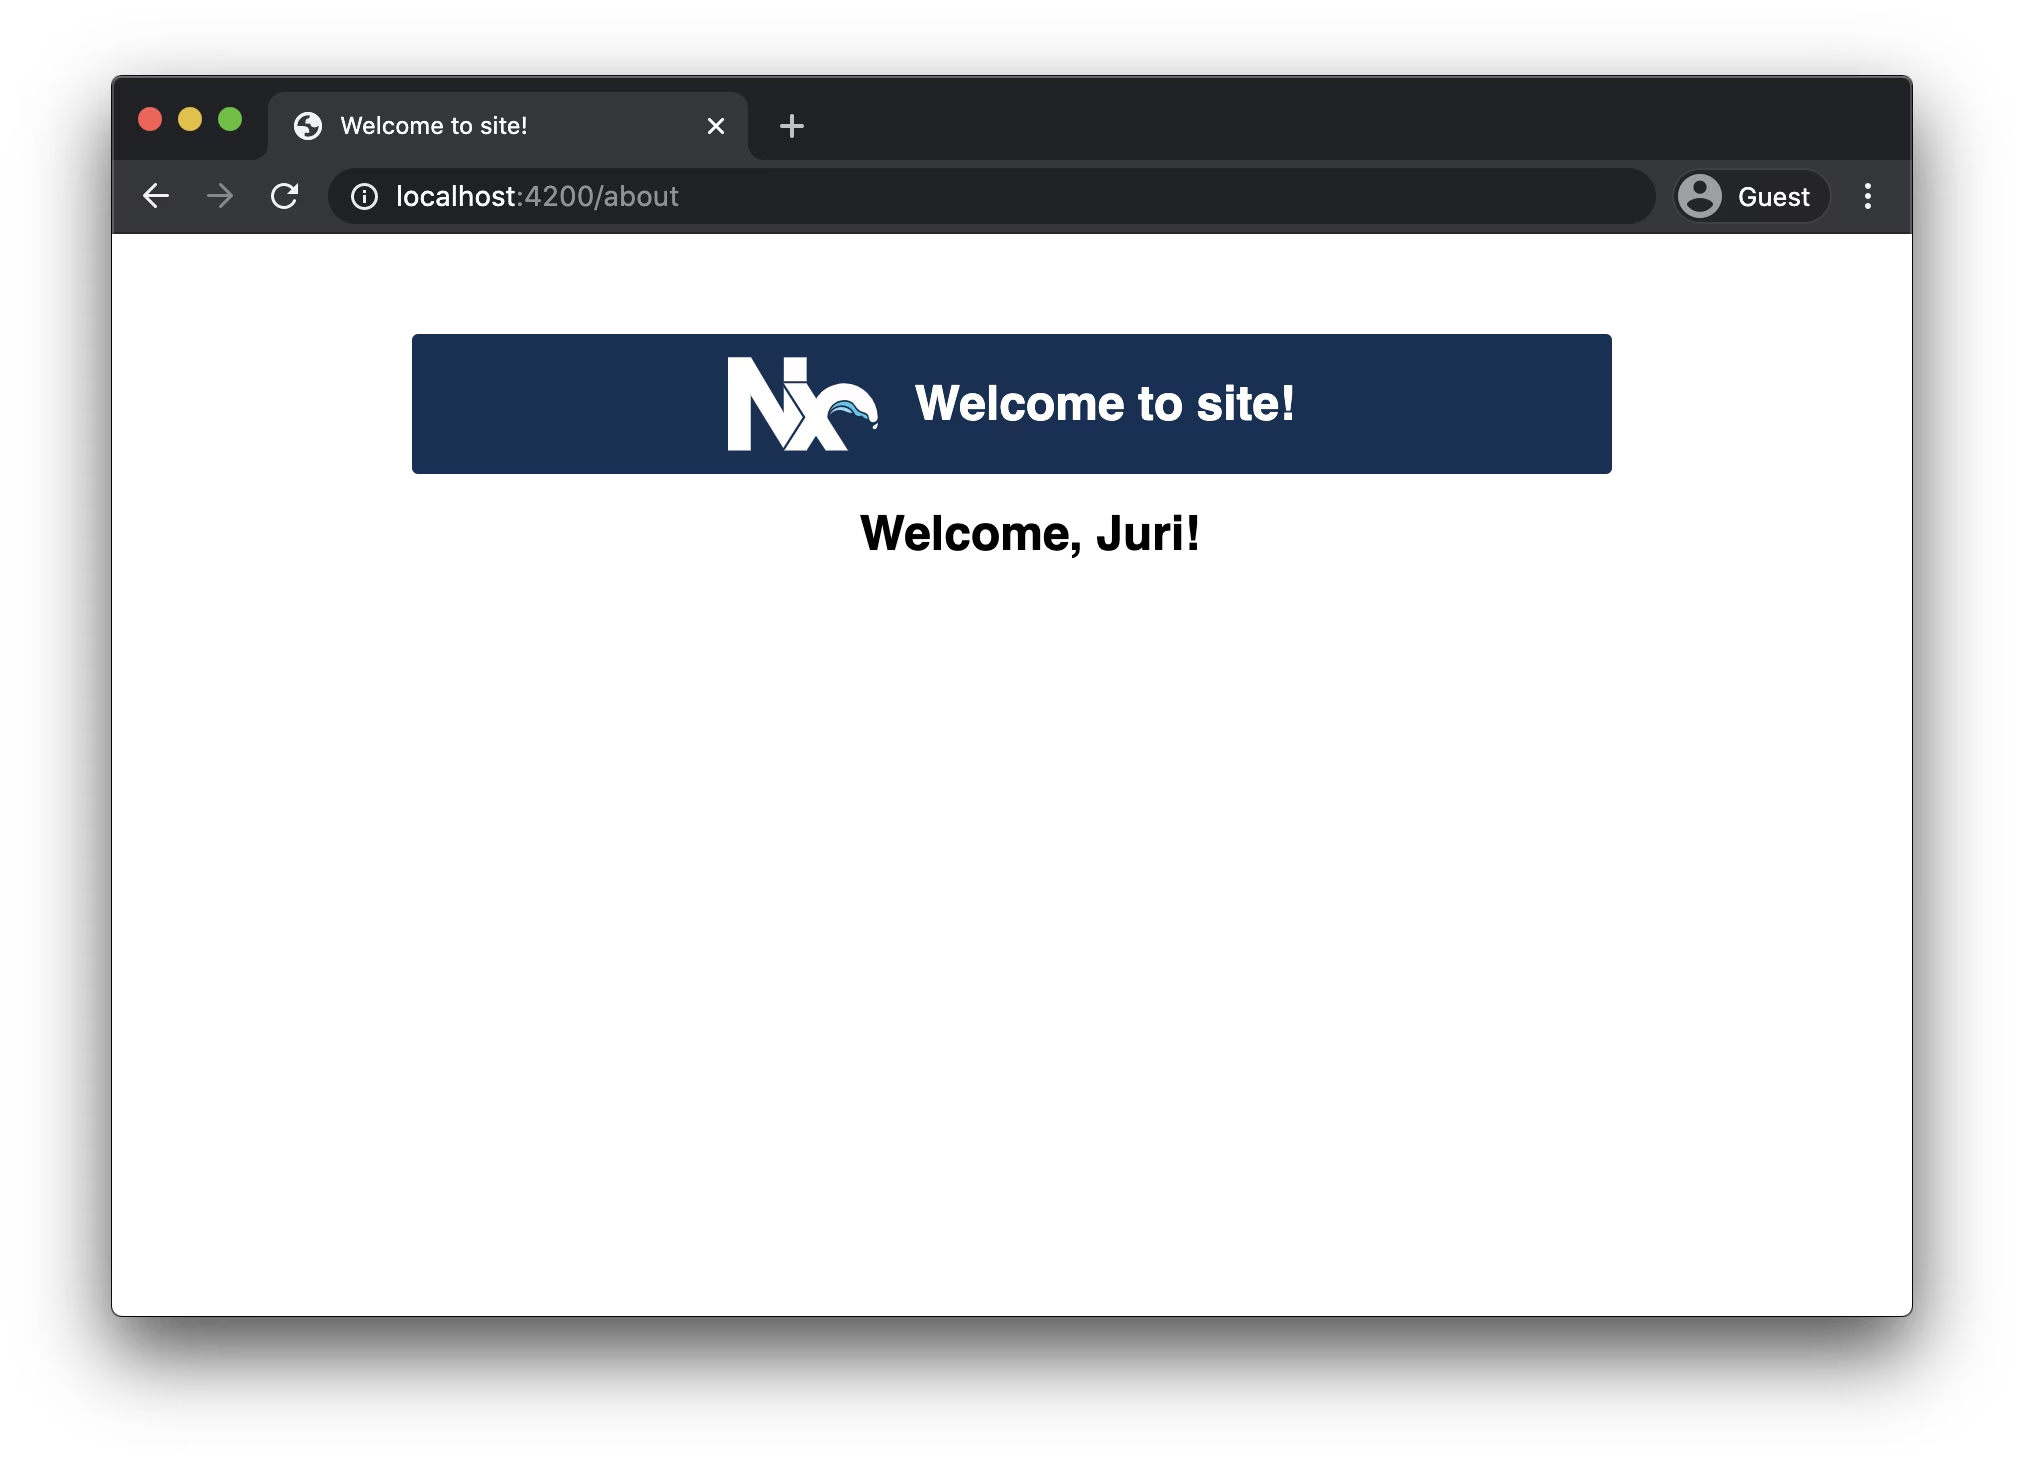
      <h1>Welcome, {props.name}!</h1>
    </div>
  );
}

export const getStaticProps: GetStaticProps<AboutProps> = async (context) => {
  ...
}

Understanding getStaticPaths
If we want to create a blog, we’ll want to load pages dynamically. So we cannot really give them a static name as we did with our About page (about.tsx).
nx generate @nrwl/next:page --name=[slug] --style=none --directory=articles
This generates a new articles folder with a new [slug].tsx file. The [slug] part is where Next.js understands it is dynamic and needs to be filled accordingly. Let’s also clean up the generated part a bit, changing the React component name to Article as well as the corresponding TS interface.
So first of all let’s focus on the getStaticPaths function which we define as follows:
// apps/site/pages/articles/[slug].tsx
import { ParsedUrlQuery } from 'querystring';

interface ArticleProps extends ParsedUrlQuery {
  slug: string;
}

export const getStaticPaths: GetStaticPaths<ArticleProps> = async () => {
  ...
}
According to the docs the function needs to return an object, having a paths as well as fallback property:
return {
  paths: [
    { params: { ... } }
  ],
  fallback: true or false
};
The paths section contains the number of pages that should be pre-rendered. So we could have something like
return {
  paths: [
    {
      slug: 'page1'
    },
    {
      slug: 'page2'
    }
  ],
  ...
}
From a mental model, this would instruct Next.js to “generate” (obviously it doesn’t) at the place of our [slug].tsx a page1.tsx and page2.tsx which are then converted to pages accessible at /articles/page1 and /articles/page2.
This would be the place where you would go and read your file system or query the API for all the pages you wanna render. But more about that later. To simplify things, let us just generate a set of “pages”:
export const getStaticPaths: GetStaticPaths<ArticleProps> = async () => {
  return {
    paths: [1, 2, 3].map((idx) => {
      return {
        params: {
          slug: `page${idx}`,
        },
      };
    }),
    fallback: false,
  };
};
The returned params object can be accessed from within the getStaticProps which we’ve seen before and potentially remapped to something else. Here’s the place where you could further elaborate the content, say we get the content in markdown, we could process and convert it to HTML here.
In this simple scenario we just pass it along:
export const getStaticProps: GetStaticProps<ArticleProps> = async ({ params }: { params: ArticleProps }) => {
  return {
    props: {
      slug: params.slug,
    },
  };
};
And finally we can access it from within the page React component:
export function Article(props: ArticleProps) {
  return (
    <div>
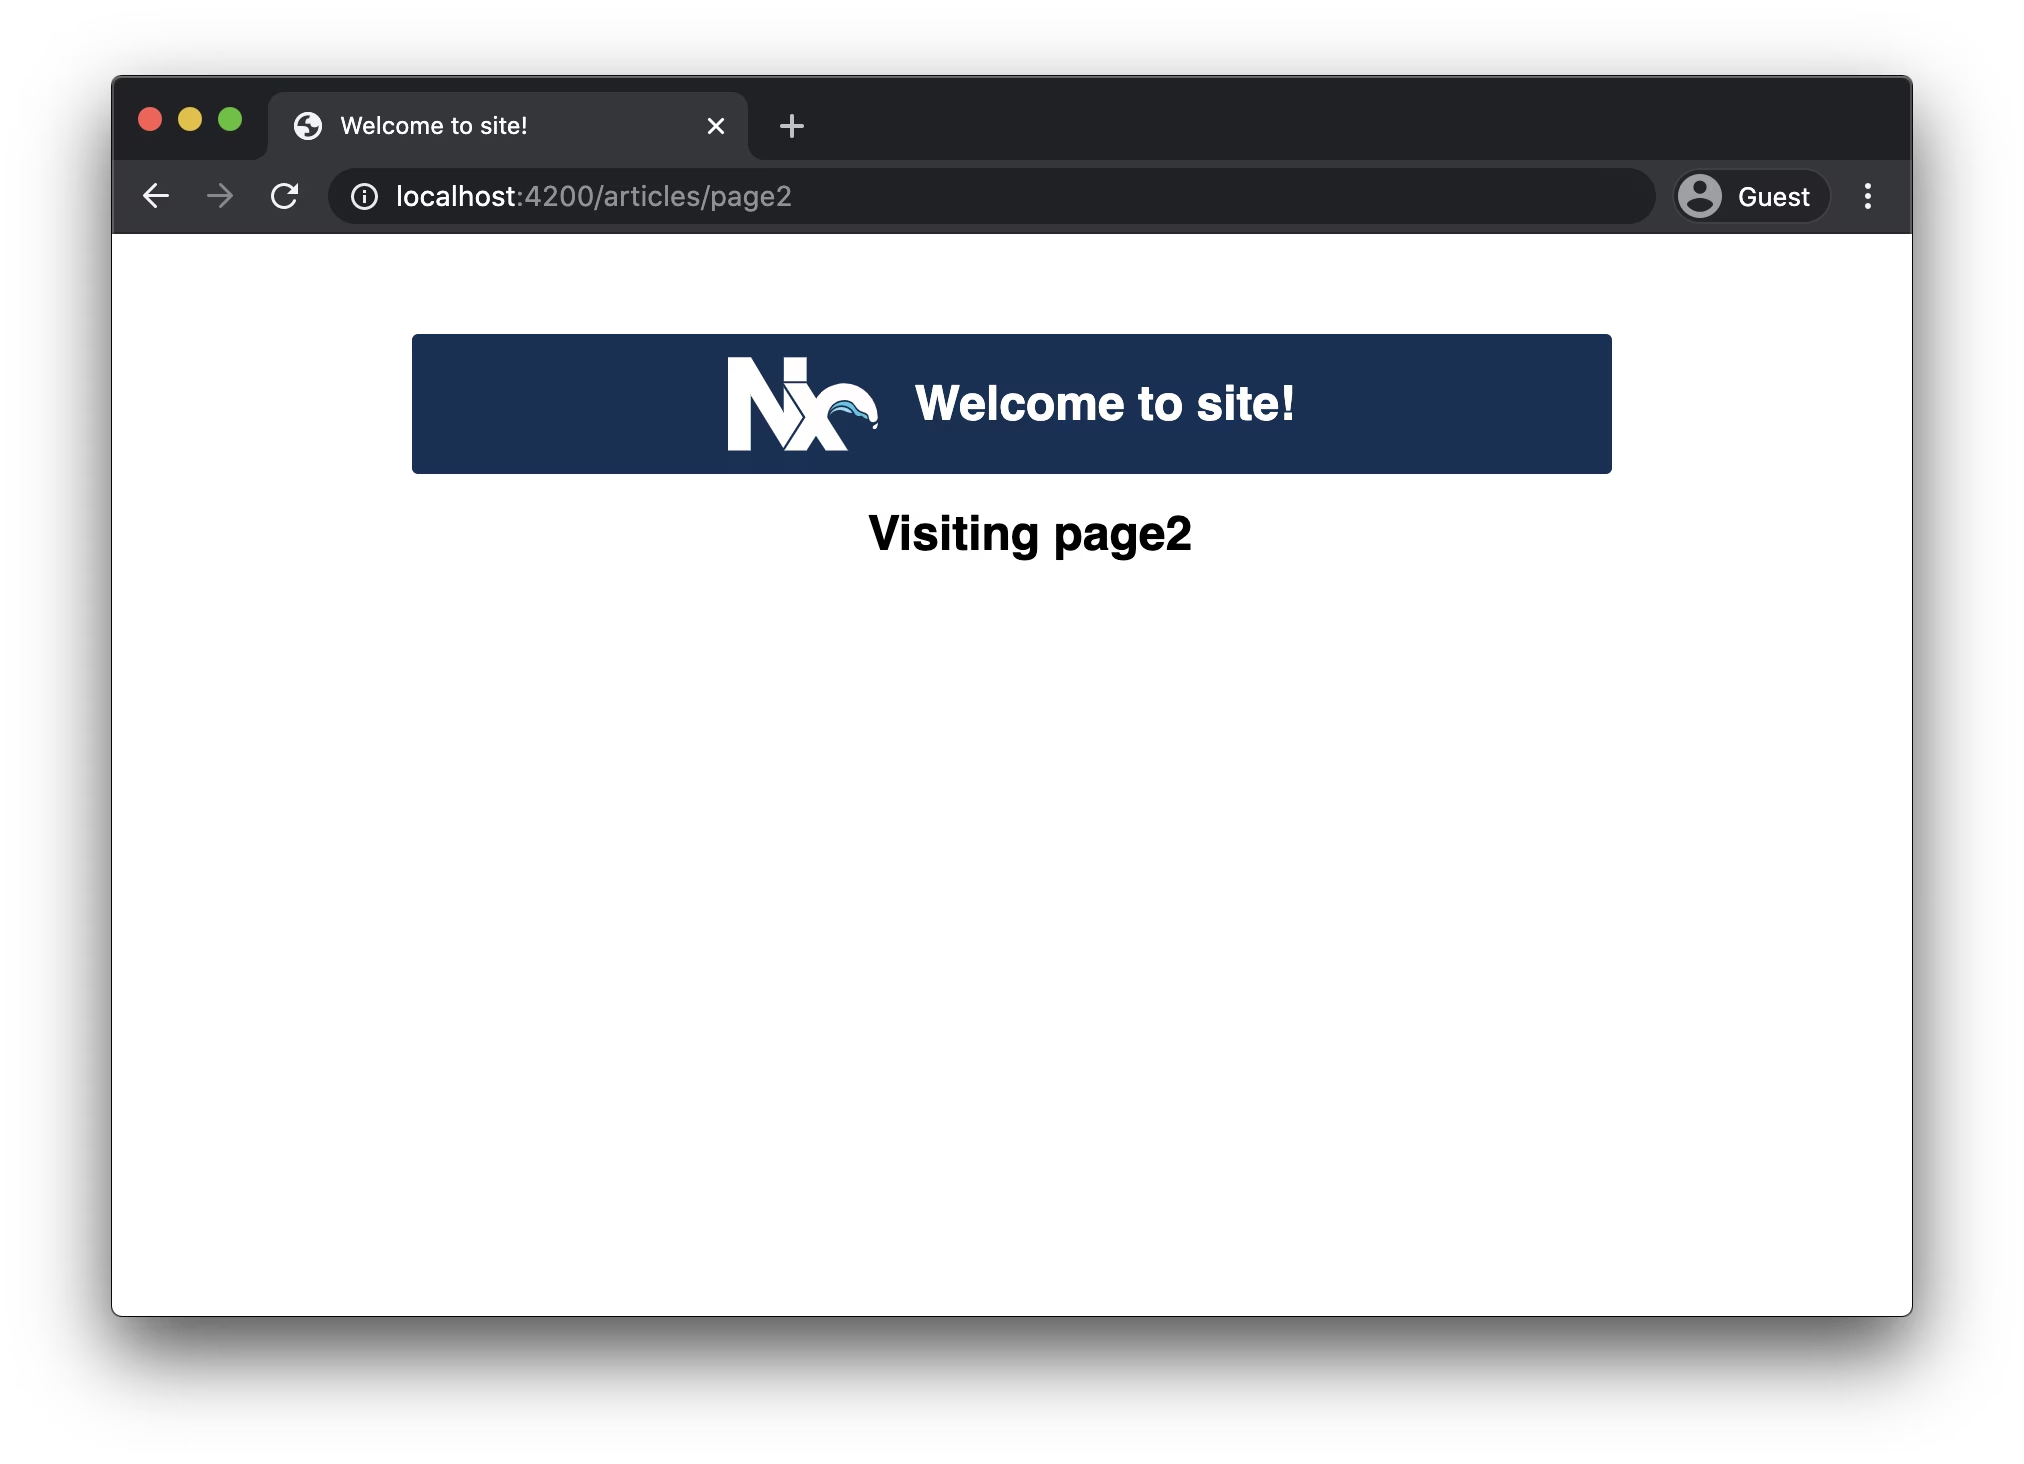
      <h1>Visiting {props.slug}</h1>
    </div>
  );
}

What about fallback?
There’s another property returned by the getStaticPaths function: fallback. The Next.js docs are pretty clear about it, so make sure to check them out.
In short, fallback: false renders only the set of pages returned by the paths property. If a given page doesn’t find a match, a 404 page (that comes with Next.js) is being rendered.
It’s also useful when the new pages are not added often. If you add more items to the data source and need to render the new pages, you’d need to run the build again.
If fallback: true the difference is that pages that have not been rendered during build time (e.g. that are not in the paths property) will not result in a 404 page. Rather, Next.js returns a Fallback page (e.g. a page where you could display a loading indicator) and then statically generates the page and the corresponding HTML and sends it back to the client, where the fallback page is swapped with the real one. Furthermore, it will be added to the sets of pre-rendered pages, s.t. any subsequent call will be immediate.
Building and Exporting our Next.js application with Nx
Next.js defines two main options when it comes to generating your deployable:
- build - allows to generate an optimized bundle that can be served by the
nextCLI, e.g. when deploying to some Vercel infrastructure. It requires a Node environment that can run the application. We will talk more about deployment of Next.js apps in an upcoming article - export - allows to generate a static site out of your Next.js application. This is ideal if you don’t have a Node environment and you just want to serve the app from some static CDN.
Hence, also the Nx configuration (in workspace.json) has matching Nx targets (see the section about “Nx Workspace structure” to learn more).
We can invoke the “build” with
nx run site:build --configuration=production
or alternatively with nx build site.
Similarly, the export can be invoked with
nx run site:export --configuration=production
or nx export site. Using the export command will automatically build the Next.js app first.
By passing --configuration=production (or --prod) the production configuration is being used which is defined in the workspace.json and which can set additional production environment only properties:
"build": {
    "executor": "@nrwl/next:build",
    "outputs": ["{options.outputPath}"],
    "options": {
        "root": "apps/site",
        "outputPath": "dist/apps/site"
    },
    "configurations": {
        "production": {}
    }
},
Conclusion
So here’s what we learned:
- How to generate a Next.js project with Nx
- About the Nx workspace anatomy
- How to generate new pages such as our site’s about page
- How to generate pages dynamically based on some slug and what role
getStaticPropsandgetStaticPathsplay with that. This part will be particularly useful to generate our blog post articles
GitHub repository
All the sources for this article can be found in this GitHub repository’s branch: https://github.com/juristr/blog-series-nextjs-nx